Shades and dental photography
“Beauty is in the eye of the beholder.” This quote, attributed to Irish author Oscar Wilde, refers to our highly subjective appreciation for the beauty of the people and objects that surround us. This concept of random perception by the observer is especially true in the field of dentistry; one might even go so far as to say that the extreme sophistication of a tooth’s colour is the archetype of subjectivity.
In addition to the wide range of human observers, each of whom interprets shades in his own way, there are cameras. Photo film isn’t the only medium that produced images of varying shades depending on its source or manufacturer (anyone remember Kodachrome 25?)—the light-sensitive sensors of today’s digital cameras behave the same way. And that’s even before accounting for background light, the use (or not) of a flash, the type of lens used, or even the colour of the walls and the patient’s clothing.
For example, here are two photos of the Vita 3D™ 1M1 shade guide taken with an iPhone 5C™. The first was taken under an LED ceiling light, and the second next to a window, in natural light on a clear day at around 3 p.m.
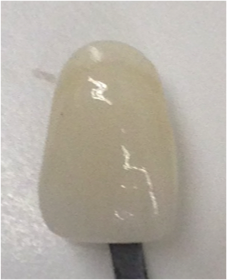
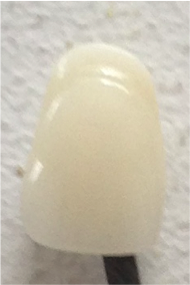
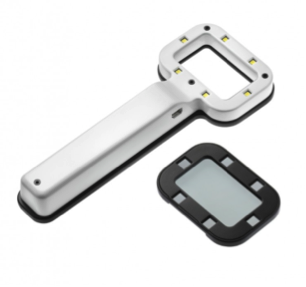
Even though the photo taken next to the window looks good, it’s best to use a portable artificial light adjusted for daylight (5,500˚K). Natural light is too dependent on changes in the weather to be reliable. See the example below of a stand-alone illuminated rectangle used to recreate a constant light environment.
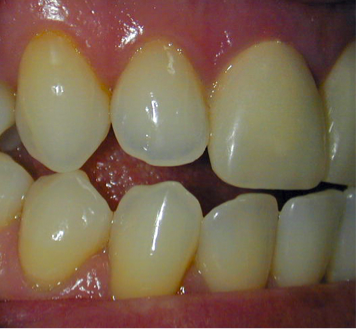
The photos of your patients’ teeth that we receive electronically help us to determine the specific characteristics of the teeth adjacent to the future crown. Details such as the distribution of the enamel and dentin zones, saturation of the gingival zone, and all manner of cracks and stains are essential to obtaining natural-looking results. However, a photo cannot be used as a shade guide to check for the colour accuracy of a ceramic crown after the fact. The following image illustrates better than any written description the difference between incisal translucency and the dentin on a #12.
We often receive intra-oral images that also include one or more shade samples placed next to the prepared tooth. Seeing the shade guide in situ can be useful, but bear in mind that a number of different parameters can slightly increase or decrease the impression of similarity between the natural and artificial shades in the photo. The first photo was taken with a consumer DSLR camera. The second was taken with a professional camera (full-frame DSLR, macro lens, and flash designed for medical macrophotography). Also note that the shade samples should be placed next to the tooth to be reproduced, in the same alignment and plane, so that the angle of refraction of the light is consistent.
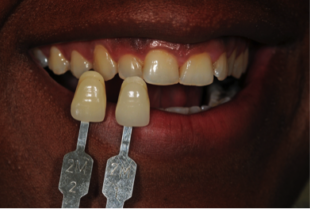
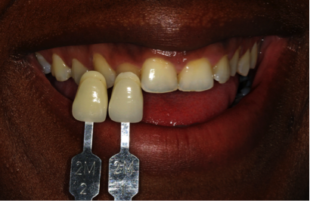
A few additional notes:
The Vita 3D™ shade guide is better than others for determining tooth shades in the mouth. Shade grading is more realistic compared to natural tooth shades, and the samples are evenly gradated.
Determining the colour prior to preparing the tooth could yield more accurate results because the teeth are wet, and therefore react more naturally to light.
It’s said that a picture is worth a thousand words, but a photograph can also portray a thousand realities.


