Shade-taking with the VITA Toothguide 3D-MASTER®
Reproducing nature is no easy task. Given the inherent complexity of organic structures, the results can be pretty unpredictable. Emulating a living thing with inert materials is ambitious, and crafting an artificial tooth is certainly no exception. The materials must be prepared with attention to the most subtle details for a prosthesis to blend in with the natural dentition. One of the key steps to achieving this objective is analyzing and reproducing the shade of the adjacent teeth.
The principal tool for this is a commercial shade guide, which provides a frame of reference for effectively identifying and, ultimately, reproducing the shade. Although there are plenty of options on the market, not all are created equal. The VITA classical shade guide introduced in 1956 as the Lumin VACUUM and featuring 16 shades from A1 to D4 is still the most widely used to this day.
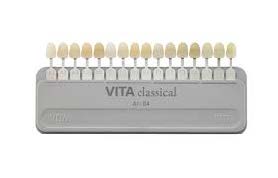
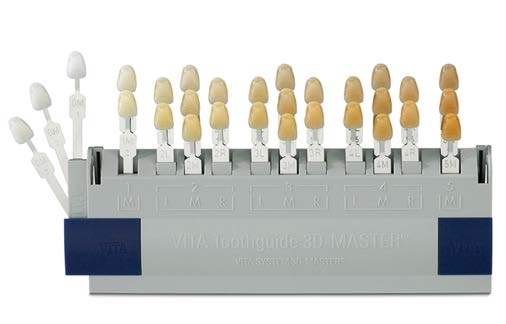
But since there’s always room for improvement, other makers of esthetic dental materials have designed their own guides over the years, essentially putting a greater focus on ease of use. VITA Zahnfabrik, maker of the VITA classical shade guide, also made efforts to enhance its product by pushing its tooth-colour research further. In 1998, the German company completely redesigned its popular guide, launching the Toothguide 3D-MASTER, which was much more in keeping with the times.
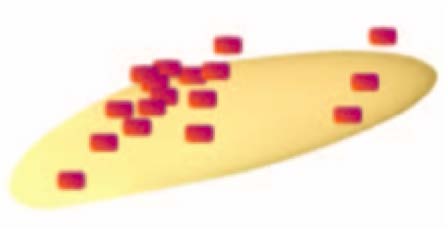
If you take samples of most naturally occurring tooth shades in humans, you get a rather clearly defined zone within the spectrum of colours of white light. VITA had superimposed its VITA classical shade guide over the spectrum of naturally occurring tooth colours, and it became evident that enhancements were in order.
This yellow oval represents the spectrum of tooth colours seen in humans. The red spots show where the VITA classical samples fell on the spectrum. You can clearly see that some samples overlap while others fall outside the spectrum, and that a good part of the spectrum isn’t covered at all. In other words, the VITA classical guide does not cover all naturally occurring tooth colours.
The orange spots on this second oval indicate where the VITA Toothguide 3D-MASTER’s samples fall on the same spectrum of tooth colours. There is a far better coverage of tooth shades compared with the VITA classical model. Each part of the spectrum is represented.

Though it may look intimidating, this shade guide is much easier to use than you would think. With the protocol established by VITA, holding it in front of a person’s mouth is simple.
The three steps to finding the correct tooth shade using the VITA Toothguide 3D-MASTER are determining the lightness level (value), selecting the chroma (colour saturation) and then determining the hue.
1. Involving a process of elimination, this first step makes the subsequent steps much easier. In this step, you need to figure out which lightness group best represents the patient’s teeth.
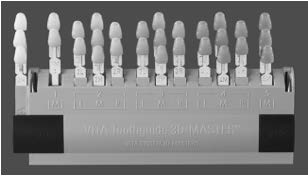
To find the right tooth colour with the VITA Toothguide 3D-MASTER, you start by holding the guide in front of the patient’s mouth and moving it, without pulling up the samples. The objective is to select the appropriate lightness level from group 0, 1, 2, 3, 4 or 5. It is recommended that you begin your comparison with the darkest group first. A greyscale photo from the guide gives you a better idea of the differences in degrees of lightness.
2. Now that the lightness level has been identified, the next step is to pull out the samples from the middle hue group (M) to determine the chroma. For illustration purposes, let’s say we selected lightness group 4. Samples 4M1, 4M2 and 4M3 all share the same hue and lightness. Their chroma levels differ, however; 4M3 being much stronger than 4M1.
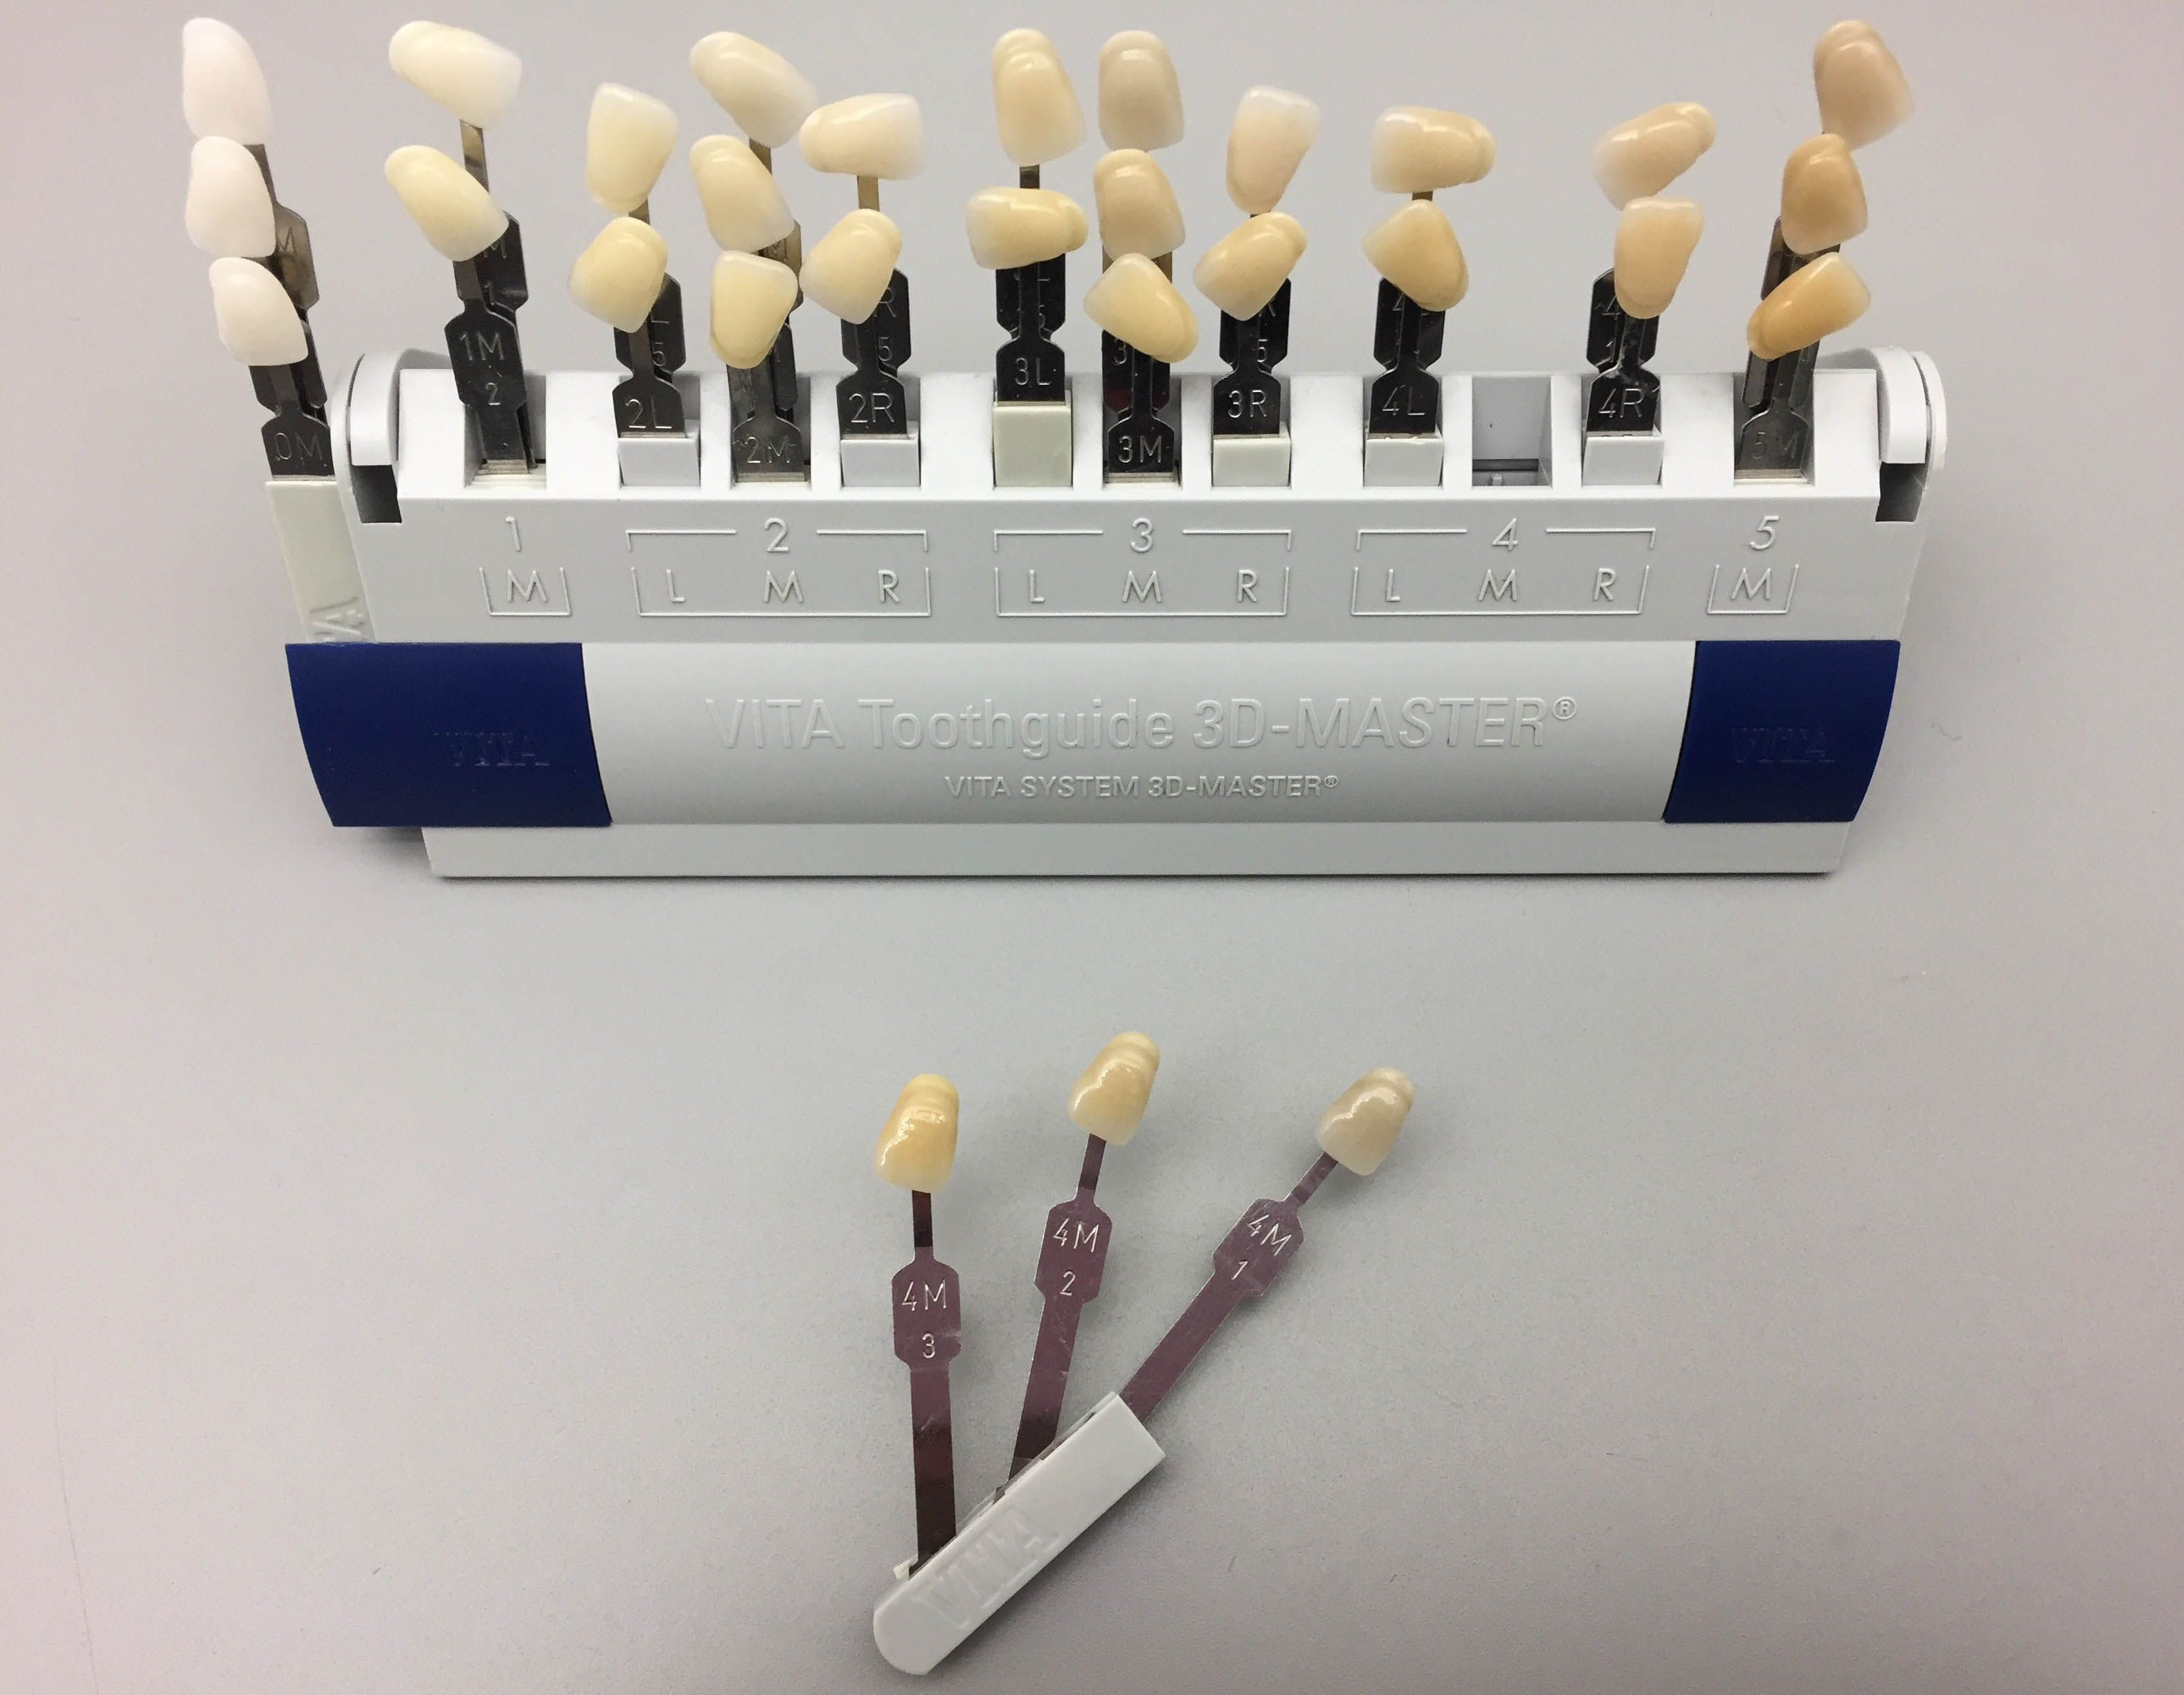
This VITA guide uses the letters L, M and R, not only to represent left, middle and right, but also to identify very distinct hues. In the image below, you can easily see the differences in hue between the L (yellowish) and R (reddish) samples within a lightness group.
L (yellowish)
M (intermediate)
R (redish)
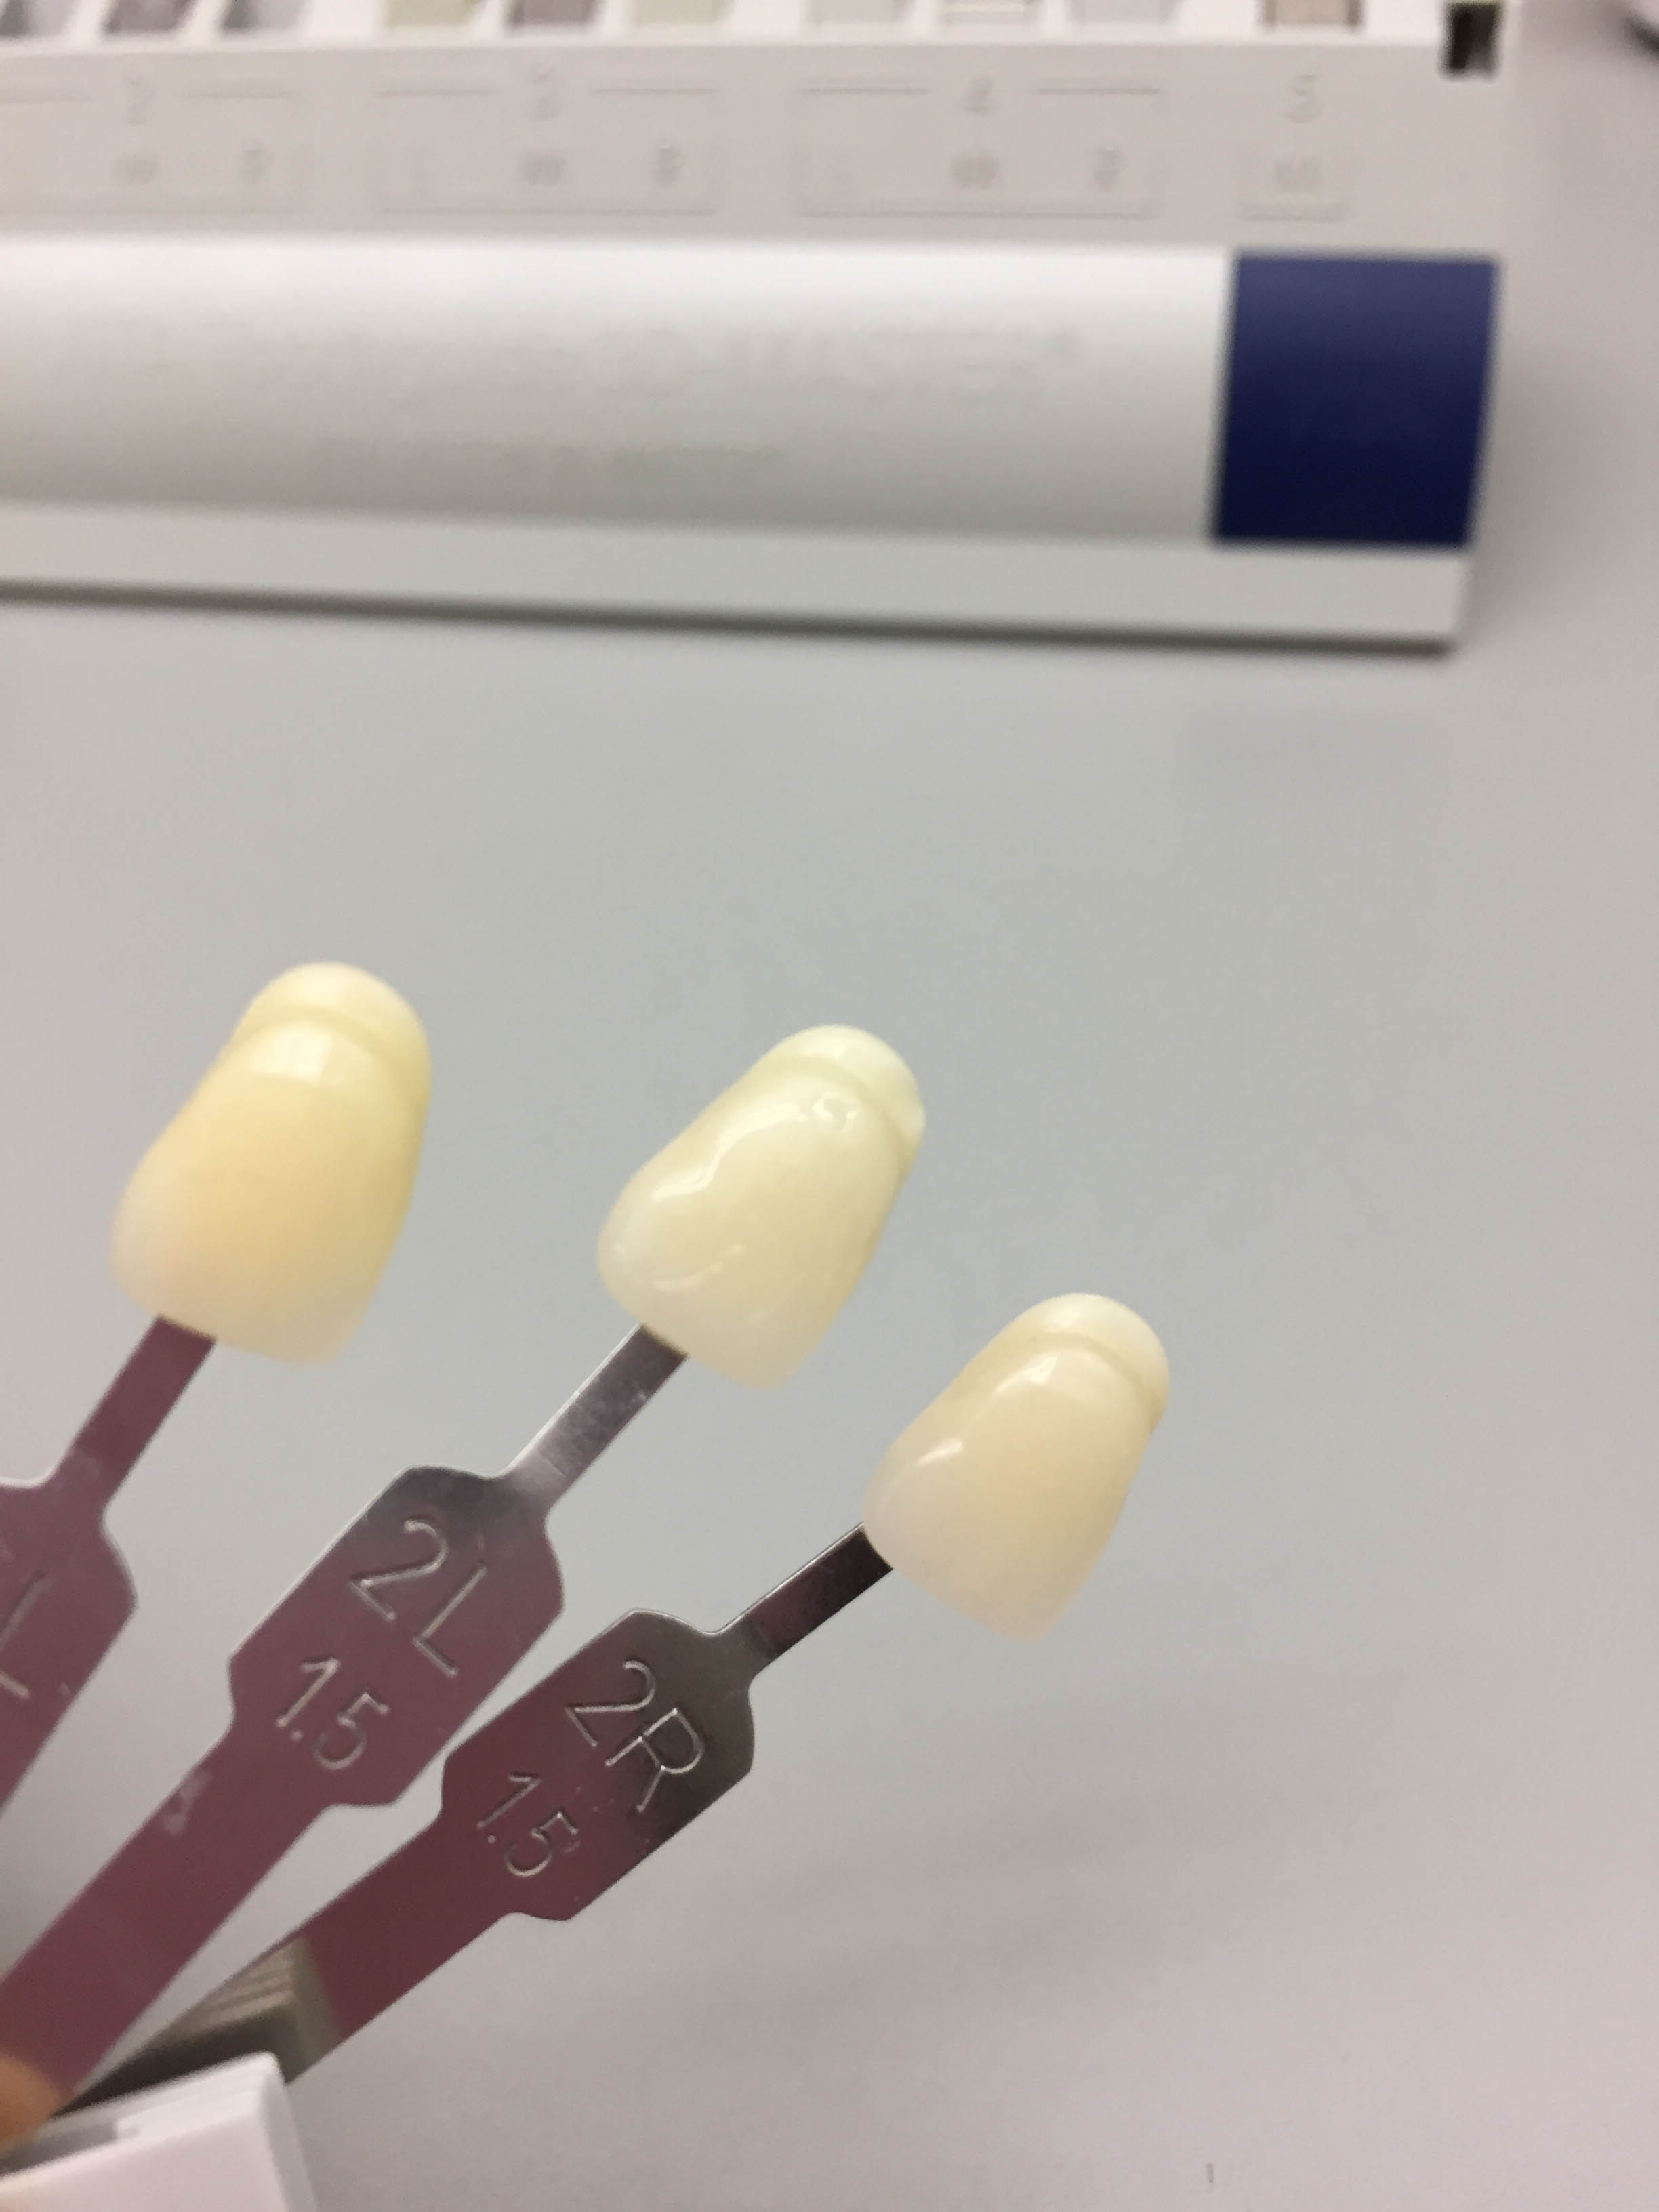
3. The last step is to determine the hue of the teeth. Are they more yellowish (L) or more reddish (R), or are they somewhere in between (intermediate, or M)?
If you follow the instructions for use, the VITA Toothguide 3D-MASTER is a highly valuable piece of equipment.
Although the selection varies greatly and represents a huge array of natural tooth colours—with good reason!—the trained eye of a professional is necessary to successfully determine the shade. You have to be able to see beyond colour alone. No commercial shade guide will be able to help you spot cracks or understand the different translucent regions of a tooth. As with any industry, the best equipment is only as effective as the person using it. For example, to live up to its full potential, a top-of-the-line running shoe needs a strong runner, just as a sprinter needs a good shoe to perform optimally. It works both ways.
Keep in mind that, in reality, objects themselves are colourless. They merely show us what the light wishes us to see.


